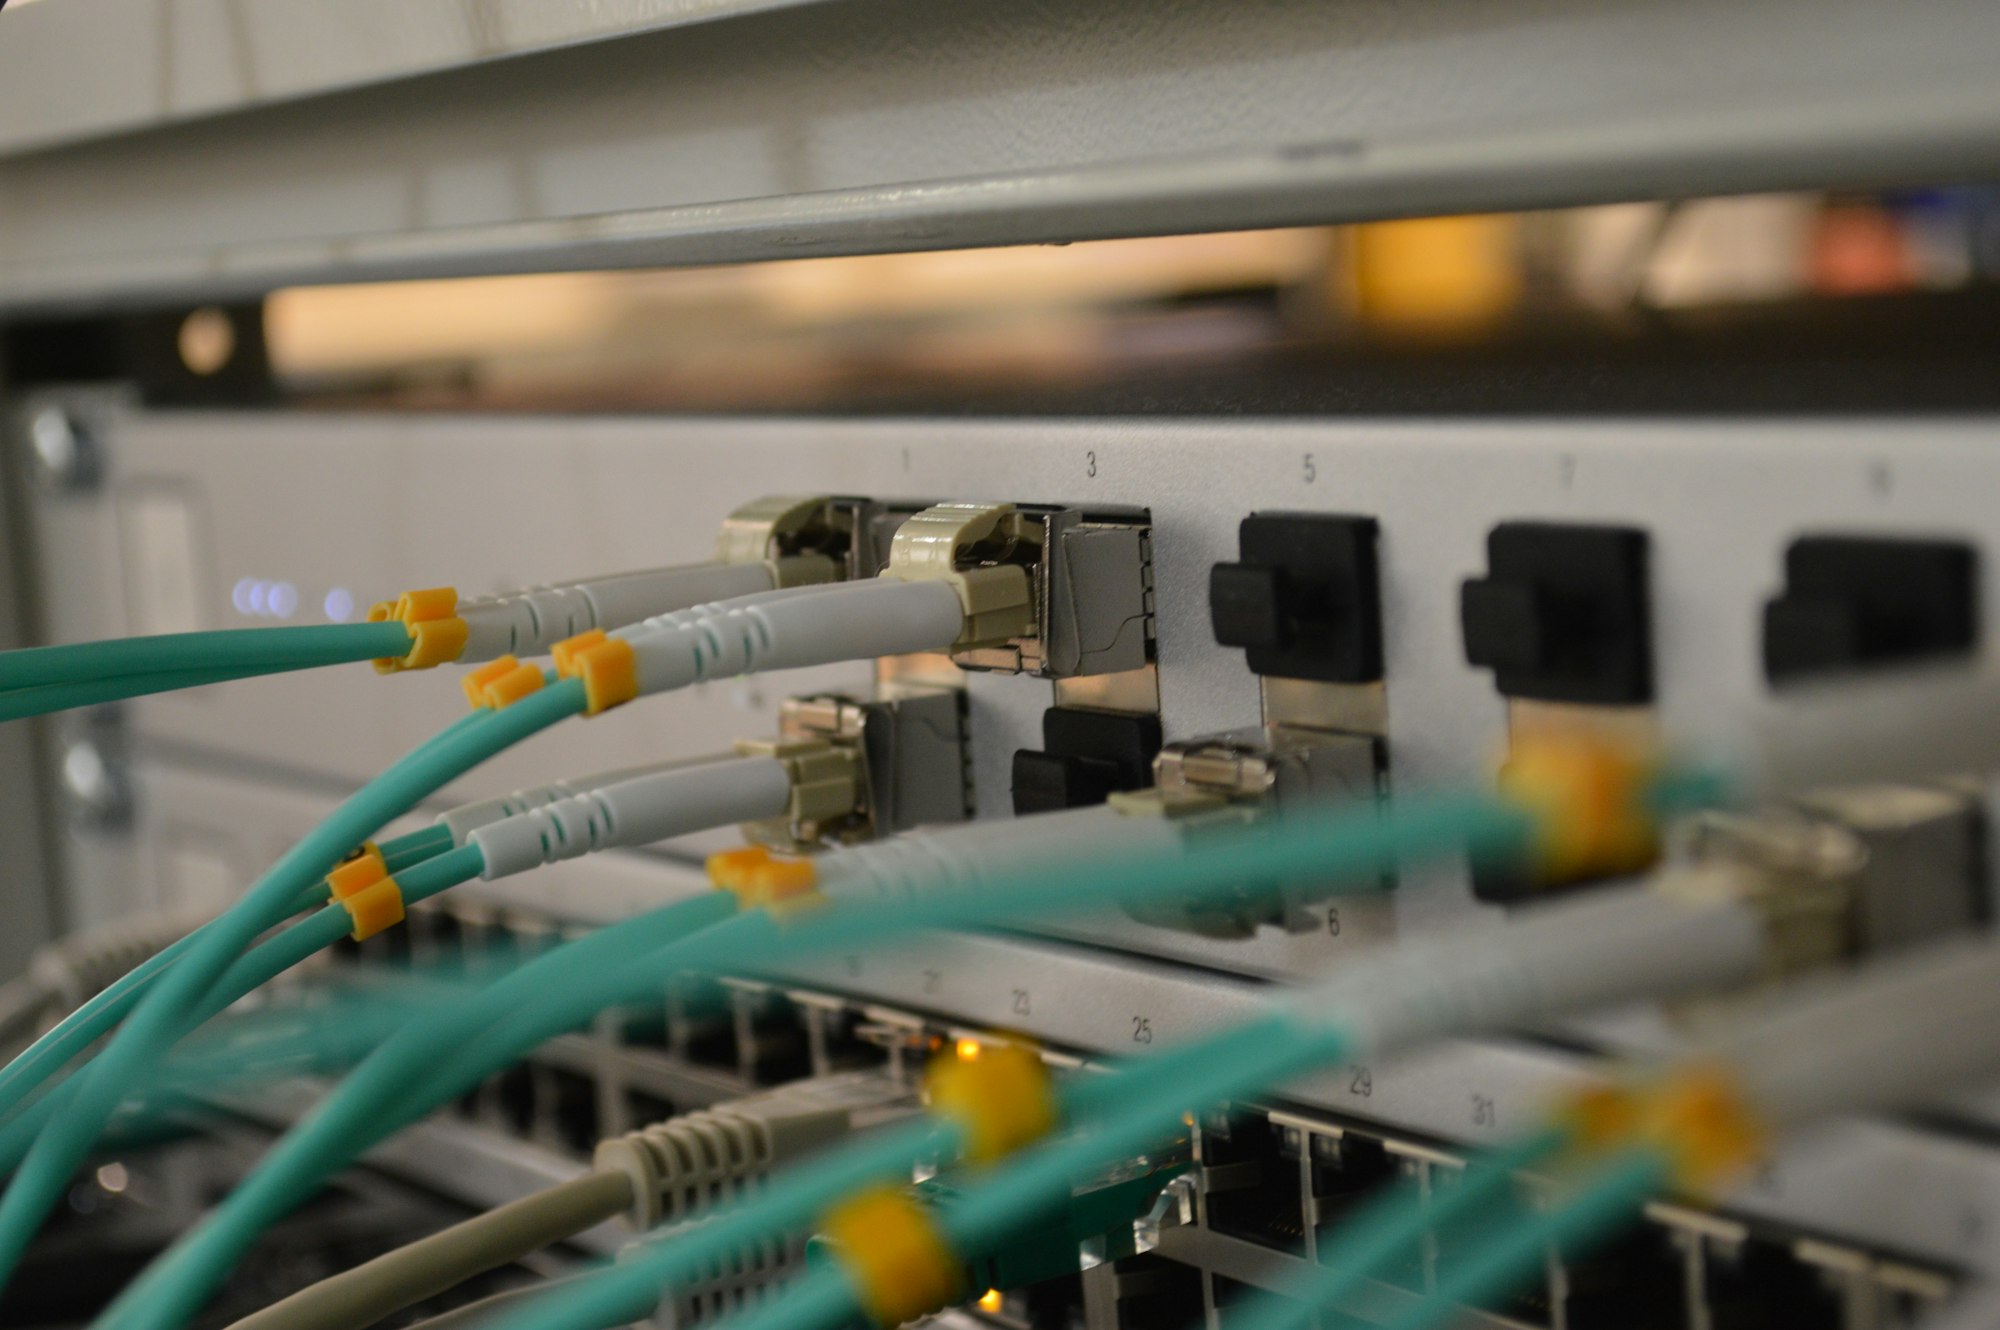
Pihole On-top of UDM Pro
There's no reason to buy a Raspberry Pi 4b if you're already leveraging a UDM Pro. Here are some concise steps on how to block ads on your network with pihole's DNS-level ad blocker ontop of UDM Pro.

Here are some concise steps on how to step-by-step block ads on your network with pihole's DNS-level ad blocker.
Enabling SSH on UDM Pro
- Go to 192.168.1.1 or wherever you're hosting your UDM Pro
- Within "settings" cog, click on "system" tab
- Click "enabled" on SSH near the bottom
- Leverage "change password" button if you don't remember it
Log Into SSH & Get Unifi-OS Scripts
- Open Terminal and
ssh [email protected] -o HostKeyAlgorithms=+ssh-rsa - Jump into Unifi shell with
unifi-os shell - Download package
curl -L https://udm-boot.boostchicken.dev -o udm-boot.deb - Install package
dpkg -i udm-boot.deb - Enable boot script with
systemctl enable udm-boot - Leave Unifi shell but stay within ssh with
exit
Create Network Within UDM Web GUI
Create a pihole network with the following settings:
- Host address (I used 192.168.3.0)
- Netmask 24
- VLAN ID (I used 8, just make sure it's a new one for you)
- Network Type: Standard
- Multicast DNS: Enabled
- DHCP: none (pihole can handle this if you want)
- IPv6: none
Setup Pihole Pod
- download the dns.conflist template
curl -L https://github.com/boostchicken-dev/udm-utilities/raw/master/cni-plugins/20-dns.conflist -o /mnt/data/podman/cni/dns.conflist - Open dns.conflist with vim and change "mac" line so last 3 portions are fake hex that would be unique to your network. Change address settings (Mine is 192.168.3.2/24) and gateway settings (Mine is 192.168.3.1). Change VLAN number such as
"master": "br8". - Make sure dns.conflist is executable for podman with
chmod +x /mnt/data/podman/cni/dns.conflist - Copy dns.conflist to its read directory so podman network can see it with
cp /mnt/data/podman/cni/dns.conflist /etc/cni/net.d/dns.conflist - Validate dns.conflist is configured and working properly with
podman network inspect dns - Download the install-sni-plugins script with
curl -L https://github.com/unifi-utilities/unifios-utilities/blob/main/cni-plugins/05-install-cni-plugins.sh -o /mnt/data/on_boot.d/05-install-cni-plugins.sh - Add the executable flag to install-sni-plugins script with
chmod +x /mnt/data/on_boot.d/05-install-cni-plugins.sh - Execute the install-sni-plugins script with
/mnt/data/on_boot.d/05-install-cni-plugins.sh - Download the DNS configuration script with
curl -L https://raw.githubusercontent.com/boostchicken-dev/udm-utilities/master/dns-common/on_boot.d/10-dns.sh -o /mnt/data/on_boot.d/10-dns.sh - Make the DNS configuration script executable with
chmod +x /mnt/data/on_boot.d/10-dns.sh - Edit the script to change the
IPV4_IPandIPV4_GWto reflect the address and gateway IP's used within step number 2 - Execute the DNS configuration script with
/mnt/data/on_boot.d/10-dns.sh - Create the directory structure for persistent pihole configuration with
mkdir -p /mnt/data/etc-piholeandmkdir -p /mnt/data/pihole/etc-dnsmasq.d - Now create and run the pihole docker container with the following command:
podman run -d \
  --network dns \
  --restart always \
  --name pihole \
  -e TZ="America/Chicago" \
  --cap-add=NET_ADMIN \
  -v "/mnt/data/etc-pihole/:/etc/pihole/" \
  -v "/mnt/data/pihole/etc-dnsmasq.d/:/etc/dnsmasq.d/" \
  --dns=127.0.0.1 \
  --dns=1.1.1.1 \
  --dns=8.8.8.8 \
  --hostname pi.hole \
  -e VIRTUAL_HOST="pi.hole" \
  -e PROXY_LOCATION="pi.hole" \
  -e FTLCONF_REPLY_ADDR4="192.168.3.2" \
  -e ServerIP="192.168.3.2" \
  -e IPv6="False" \
  pihole/pihole:latest
This command tells podman to run a container leveraging the dns network we created, to always restart on crashes, mount the data volumes, primary supplementary and tertiary dns lookup values, default hostname and a variety of typical environment variables.
Last Couple Steps
- Now it's a good idea to set your pihole password with
podman exec -it pihole pihole -a -p Your$ecretPassw0rd - Update your router to now leverage the local VLAN DNS server. Within the UDM GUI it's under networks > advanced > DHCP Name Server although this has changed numerous times throughout versions of UDM Pro.
